1. Process of requesting an online name registration
1.1 User registration
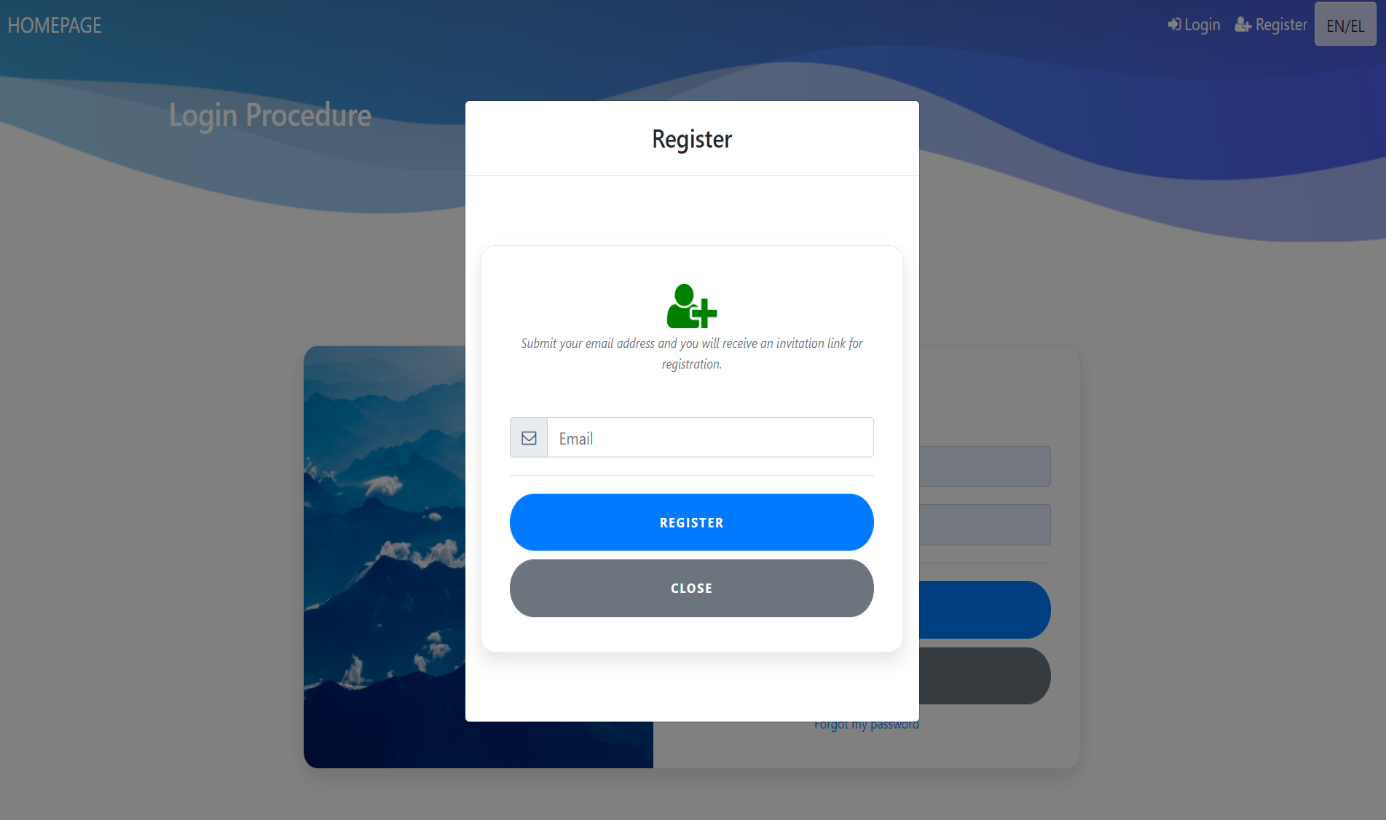
The user may register to the application by either selecting "Register" button from the navigation menu or Login and then clicking the "Register" button.
A modal will pop up in which the user may fill his email.
By selecting the "Register" button in the modal form an email will be sent to the completed user email.
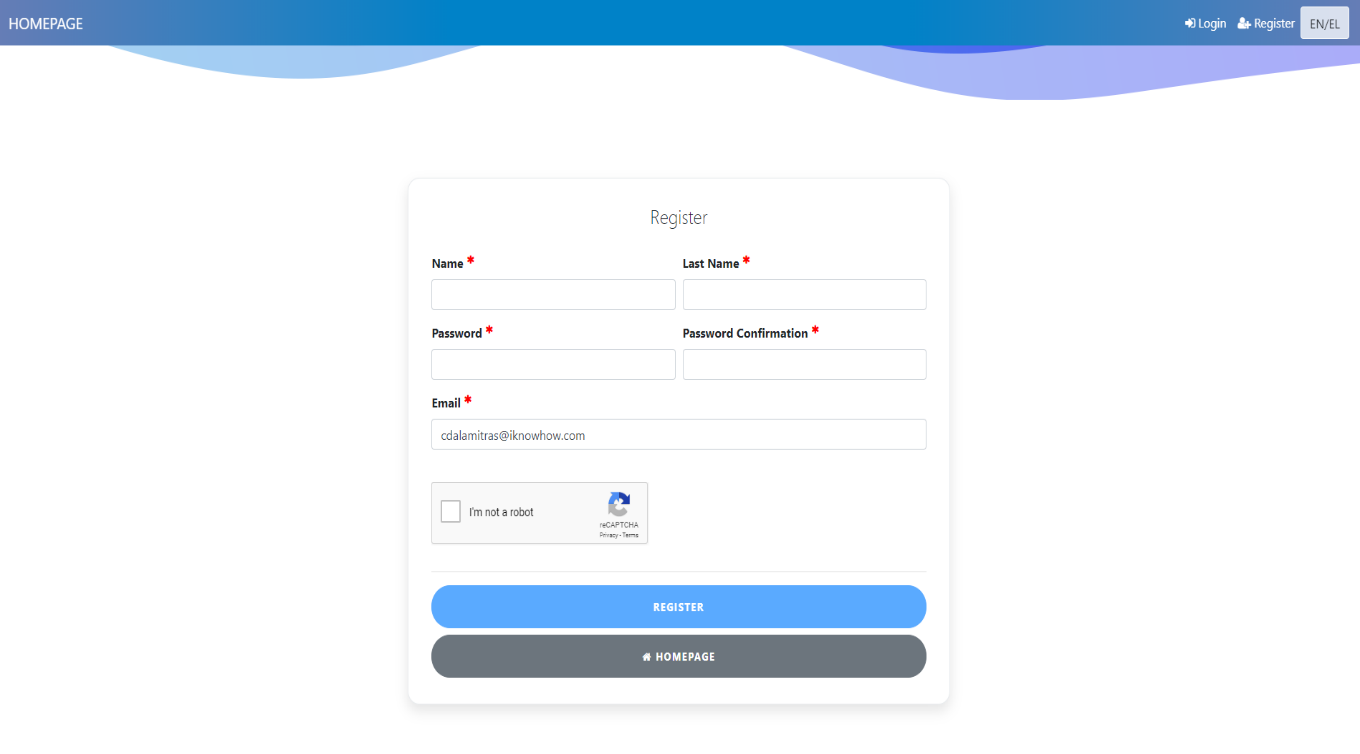
The email will have a link which redirects the user to the register form.
By filling all the required fields of the form and pressing the "Register" button the user is registered to the application.
1.2 Forgot my password functionality
In case the user forgot his password by clicking "Connect" and then "I forgot my password" he may change it.
A modal will pop up in which the user can fill in his email.
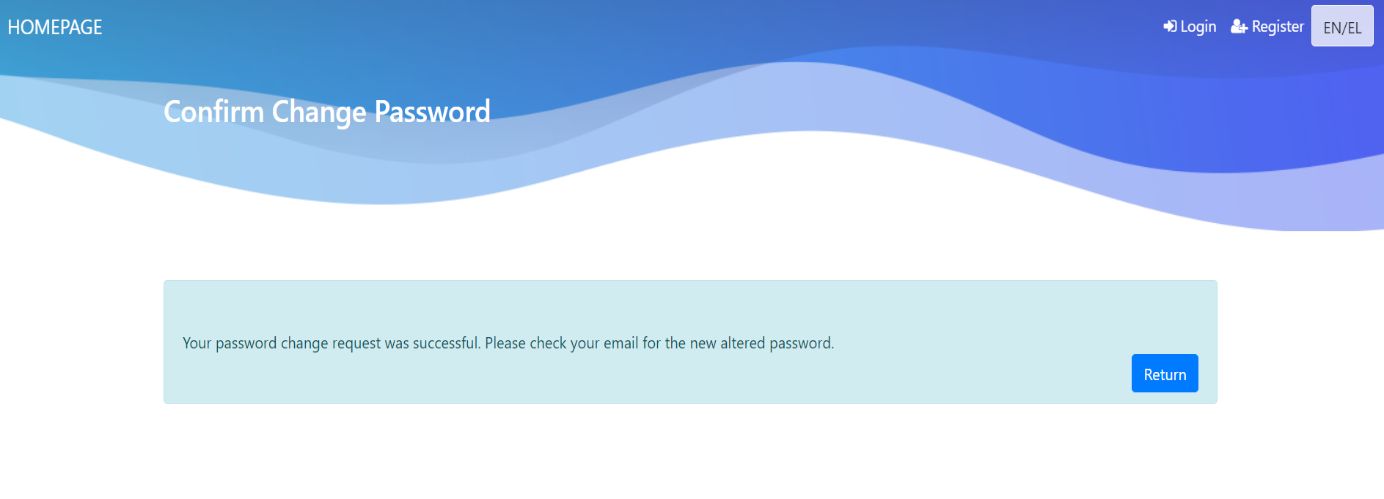
By clicking "Send Password" an email will be sent with a link. By selecting the link an email will be send again with the new password.
The user can login with his new password.
1.3 Checking name Availability
The user selects the "availability check" from the University Portal.
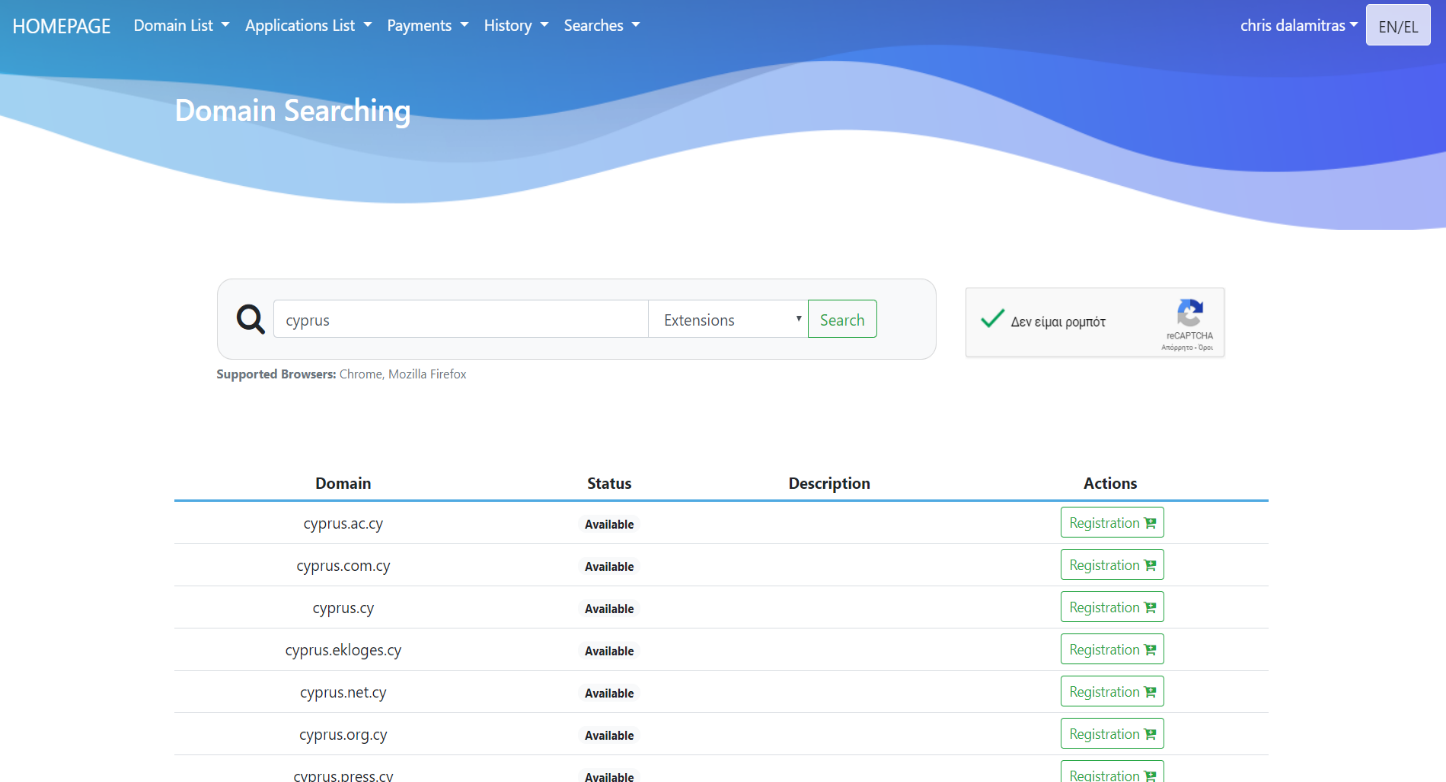
On the "Domain Searching" page, the user types in the search bar the desired web name.
The user, if desired, can select the suffix of the name and press the search button.
In the recapcha section that will appear he does the necessary actions to prove that he is not a robot.
The system displays the search results, showing the status of the online name regarding its availability.
1.4 Website registration request
The user performs the web name search according to the instructions in paragraph 1.1
In the search results, if the online name is available, the registration button is displayed.
By pressing the registration button, the process of registering the domain name is initiated.
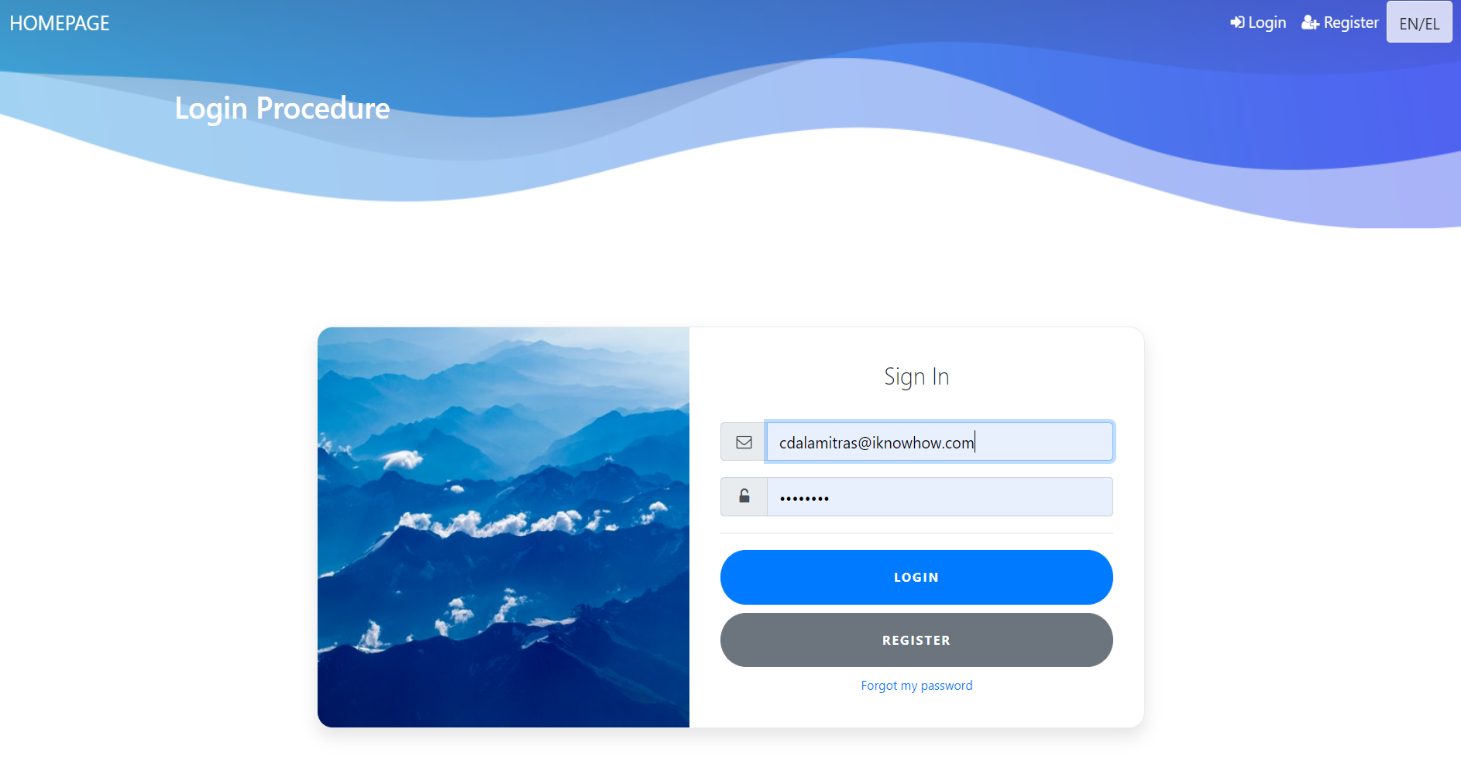
If the user has not logged in, by pressing the registration button, the system will display the login page. By filling the email and password, the user enters the system by clicking on the "login" option.
On the domain registration page that appears, the user must fill in the required fields to Register the request. The mandatory fields to be filled are marked with the red asterisk.
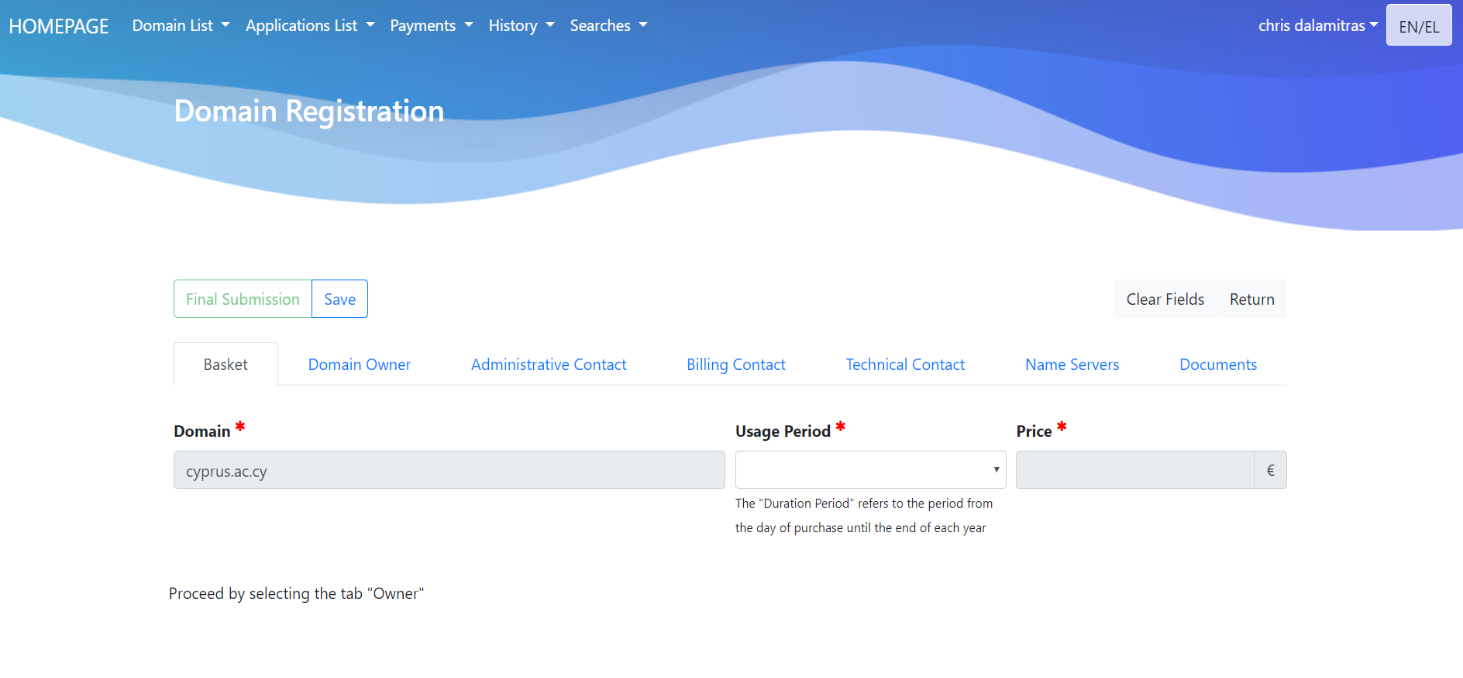
In the "Basket" tab, the user is required to Select the duration of use that determines the time period that the name will be in its possession (expressed in years). The "Time" field is automatically filled in by the system, depending on the selection of duration option.
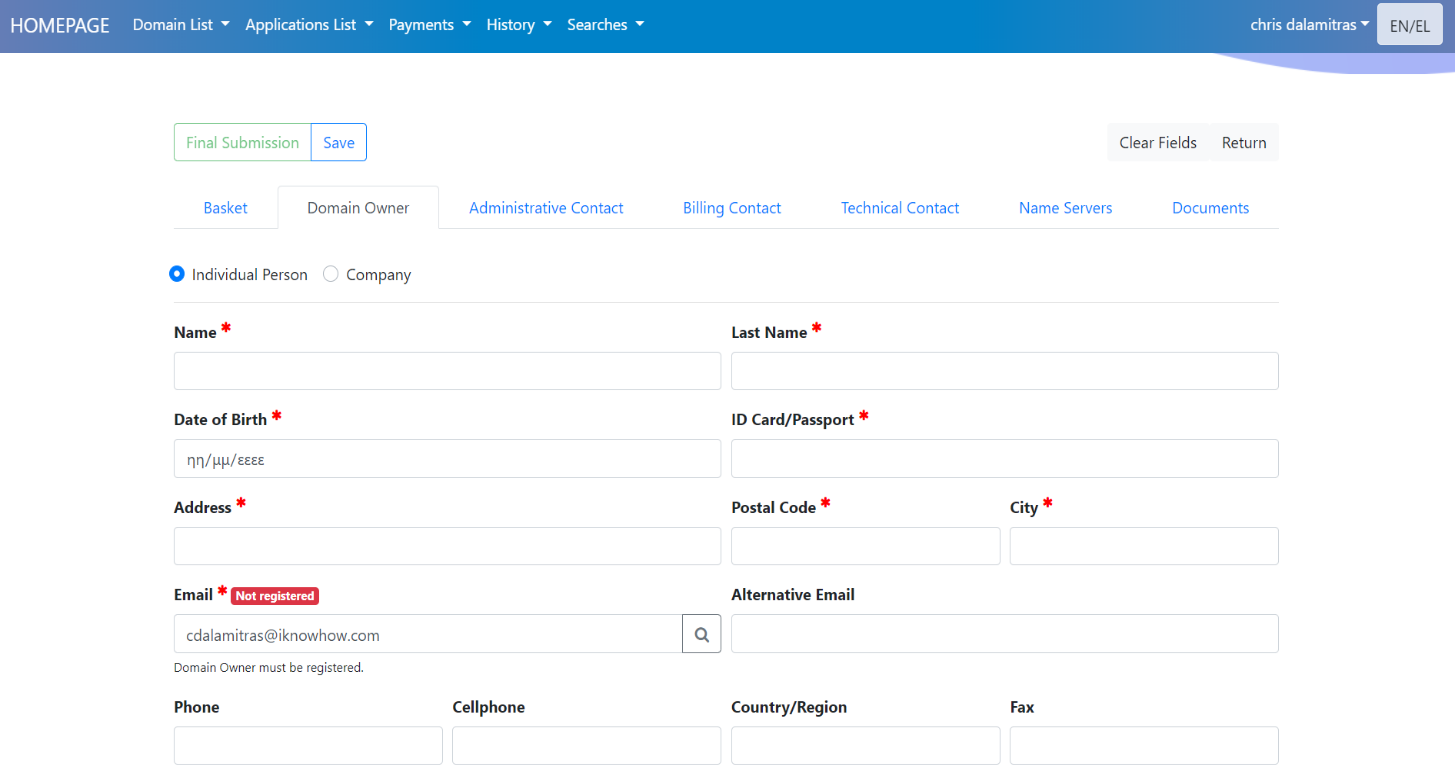
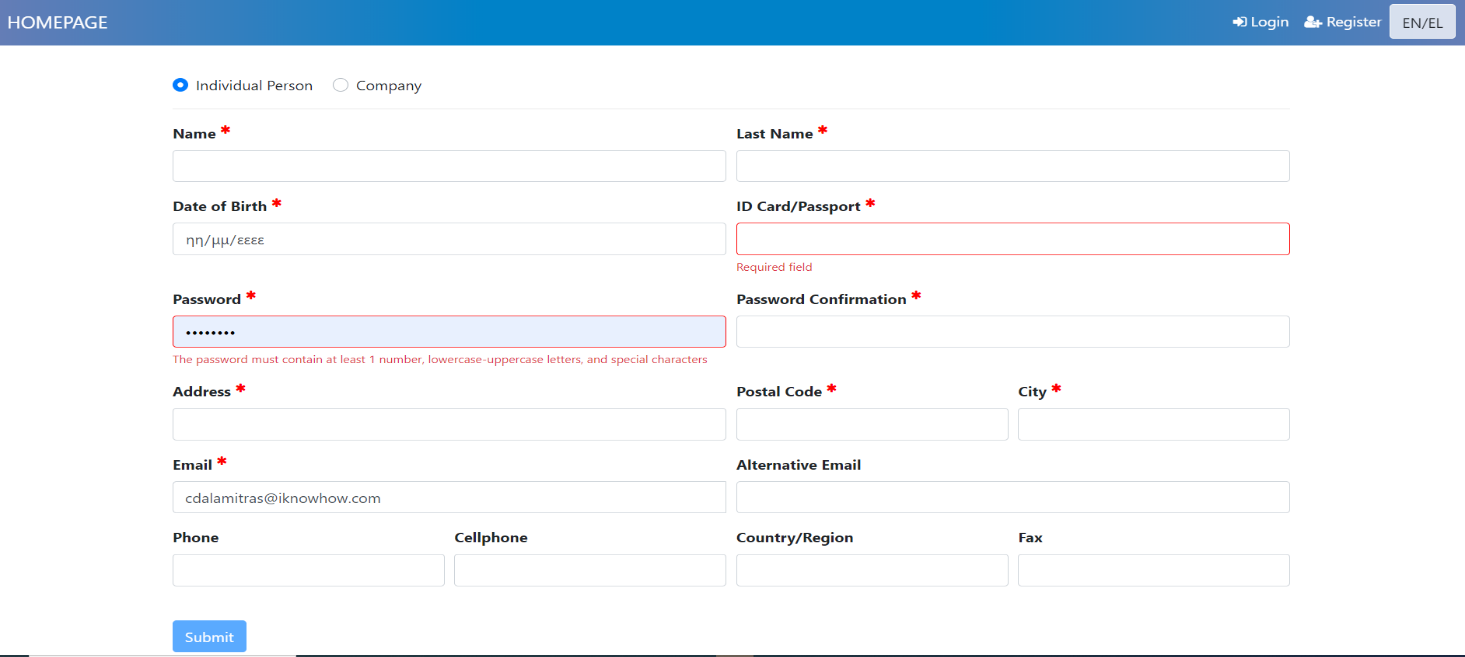
In the "Domain Owner" tab, the user first fills in the email of the owner of the domain name and presses the button of the search. If the beneficiary is fully registered in the system, his data will be automatically filled and the user will be able to procced with the procedure normally. Otherwise he will need to fill in the form of the following image that will automatically appear. In this form the user chooses whether the beneficiary is a natural person or a company and the form will display the appropriate fields to be filled in. After the user fills in the mandatory fields, he can proceed to the next tab.
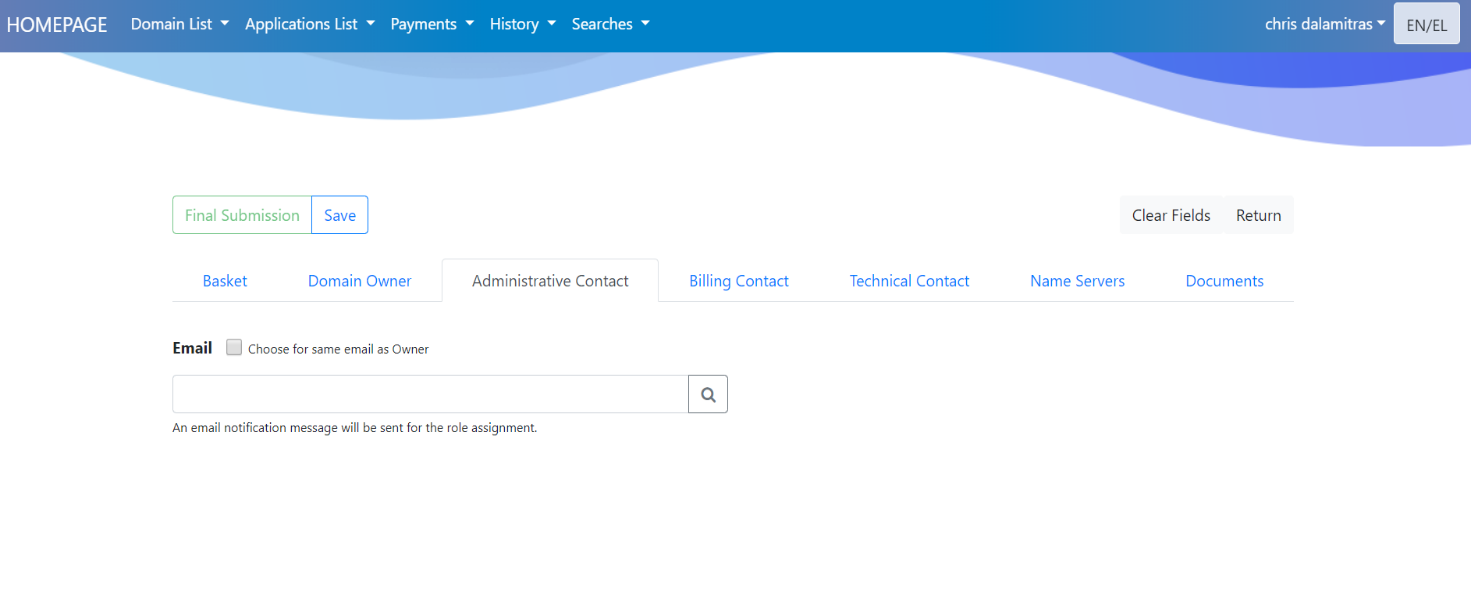
In the "Administrative Contact" tab the user fills in the email of the administrative contact. With the selection of checkbox "same email as Owner”, the email is automatically filled with that of the beneficiary. If the user skips this tab, when submitting the application, the contact's email address will be filled in with the email declared in the "Domain Owner" tab.
Similarly, the "Billing Contact" and "Technical Contact" tabs have the same functionality as the "Administrative Contact".
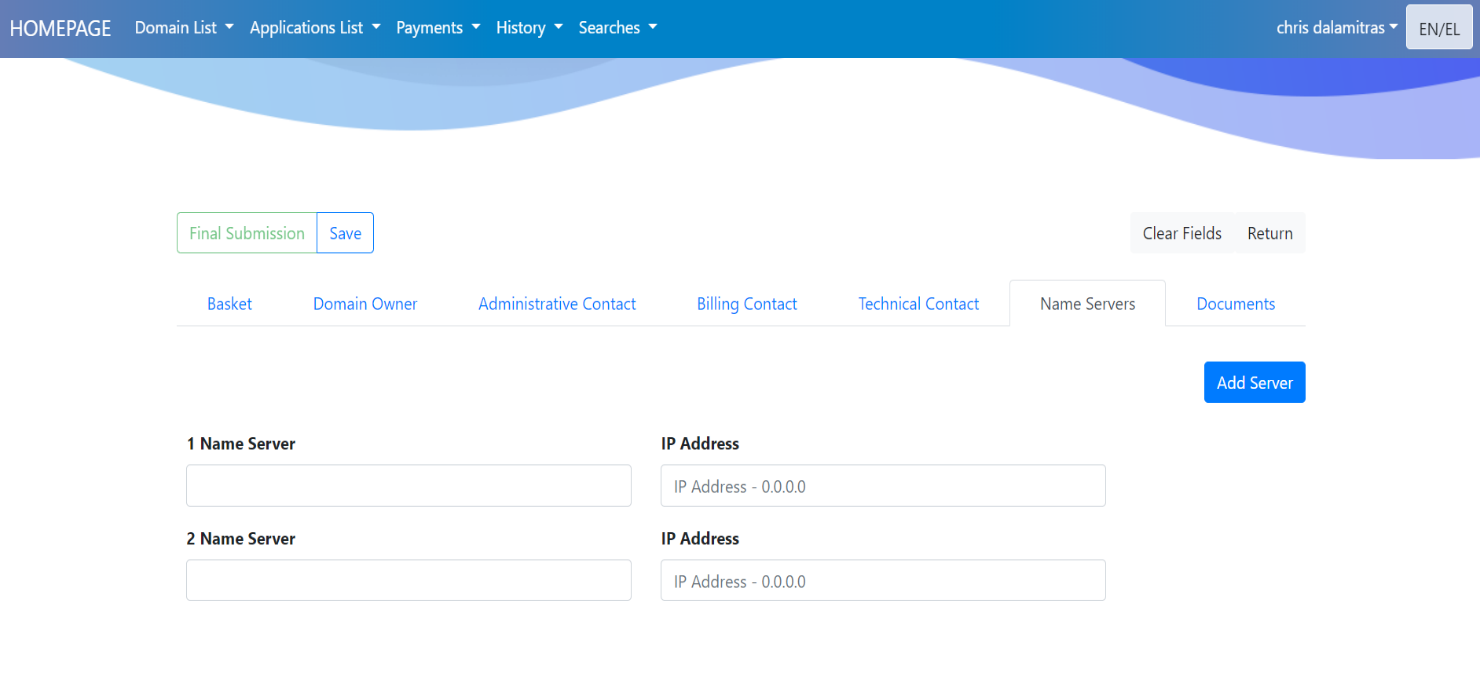
In the tab "Name Servers" the user has the possibility to add domain servers (Name Servers). The registration is optional and involves the registration of at least two (2) servers. The user can register more than two servers with the option "Add Server". If the user fills in a server name that ends with the extension ".cy" then it is required to register the IP address of the server (otherwise it receives the default IP of the zone that owns the domain name).
In the "Documents" tab the user selects the documents he wishes to submit during the registration process. The "Browse" option displays the file selection window.
If the user fills in the required fields of the form, he can proceed either to the saving of the application details with the option "Save", or to the final submission with the option "Final Submission".
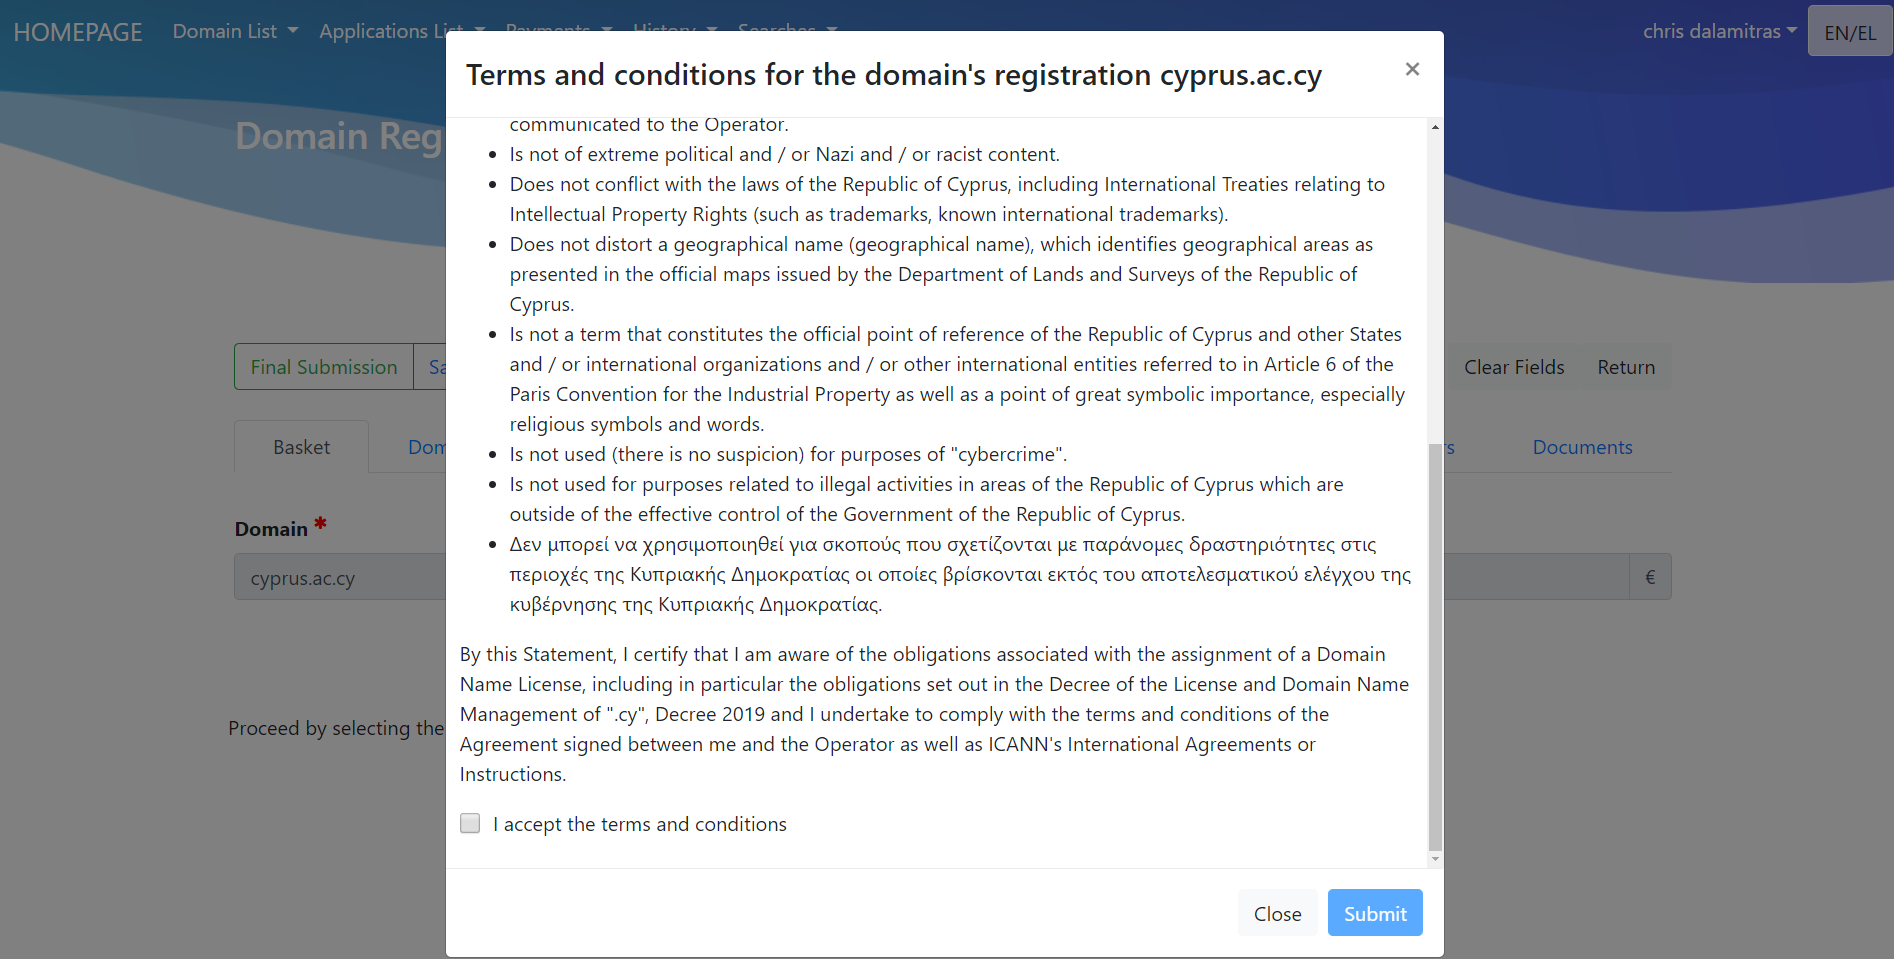
With the "Final Submission" option, a modal will pop up with the terms & conditions for registering the name. To proceed with the request, the user must select the checkbox "I accept the terms and conditions" and choose "Submit".
1.5 Adding already registered users
In the process of submitting the application for registration of a domain name, provided that the email of a contact is used as "Administrative", "Billing" or "Technical" the contact will receive an informational email with the role assigned to him.
If the contact has not proceeded to the full registration in the system, the email will provide the appropriate link to the form for the full registration of the contact.
1.6 Adding new users
In the process of submitting the application for registration of a domain name, provided that the email of a contact is used as "Administrative", "Billing" or "Technical" the contact will receive an informational email with the role assigned to him.
If the contact is not registered in the system, the email will provide the appropriate link to the form for the full registration of the contact.
1.7 Payment of the application
A prerequisite for the payment of a domain name is the approval of the registration application.
The "Owner" and "Billing" contacts are the only ones who have the right to pay a domain name.
With the approval of a registration application, the contacts "Owner" and "Billing" are updated by email for the payment deadline of the domain name.
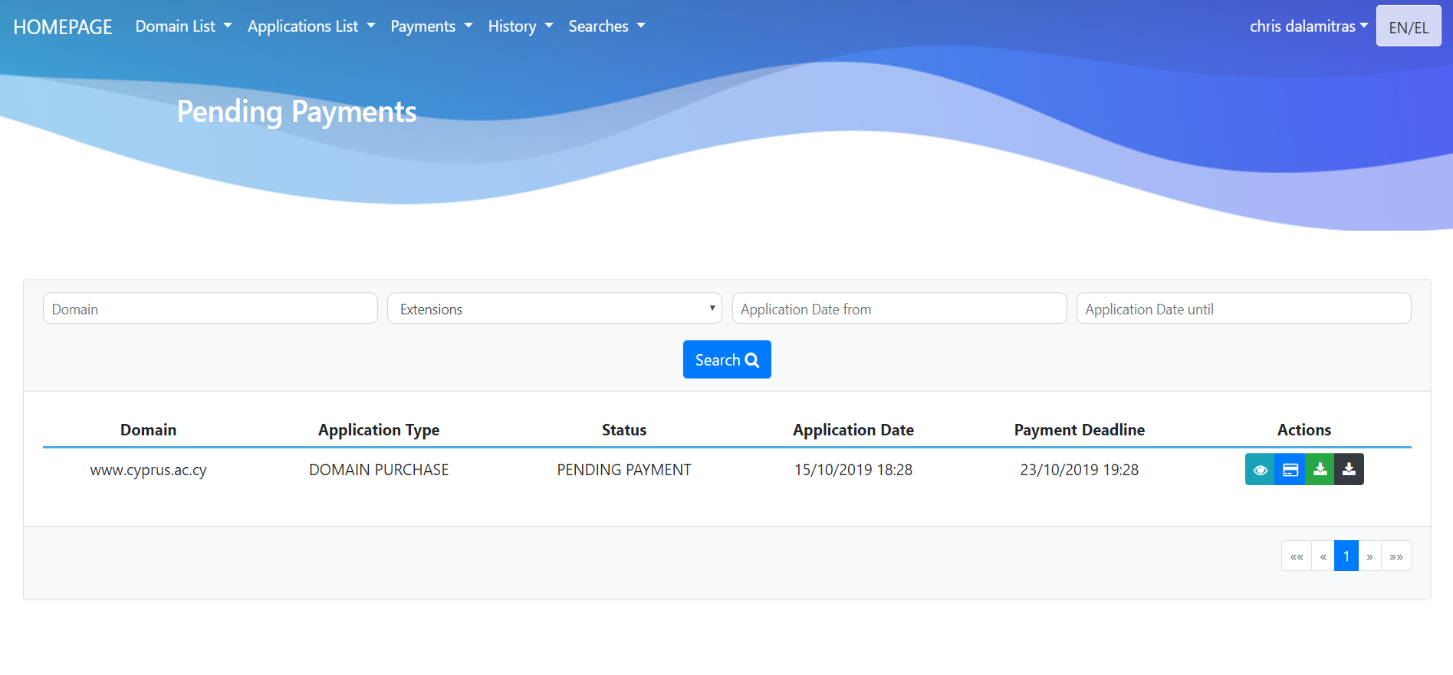
By selecting "Payments -> Pending payment" from the menu lists all pending payment are being displayed.
To start the payment process, the user must press the blue button with the credit card.
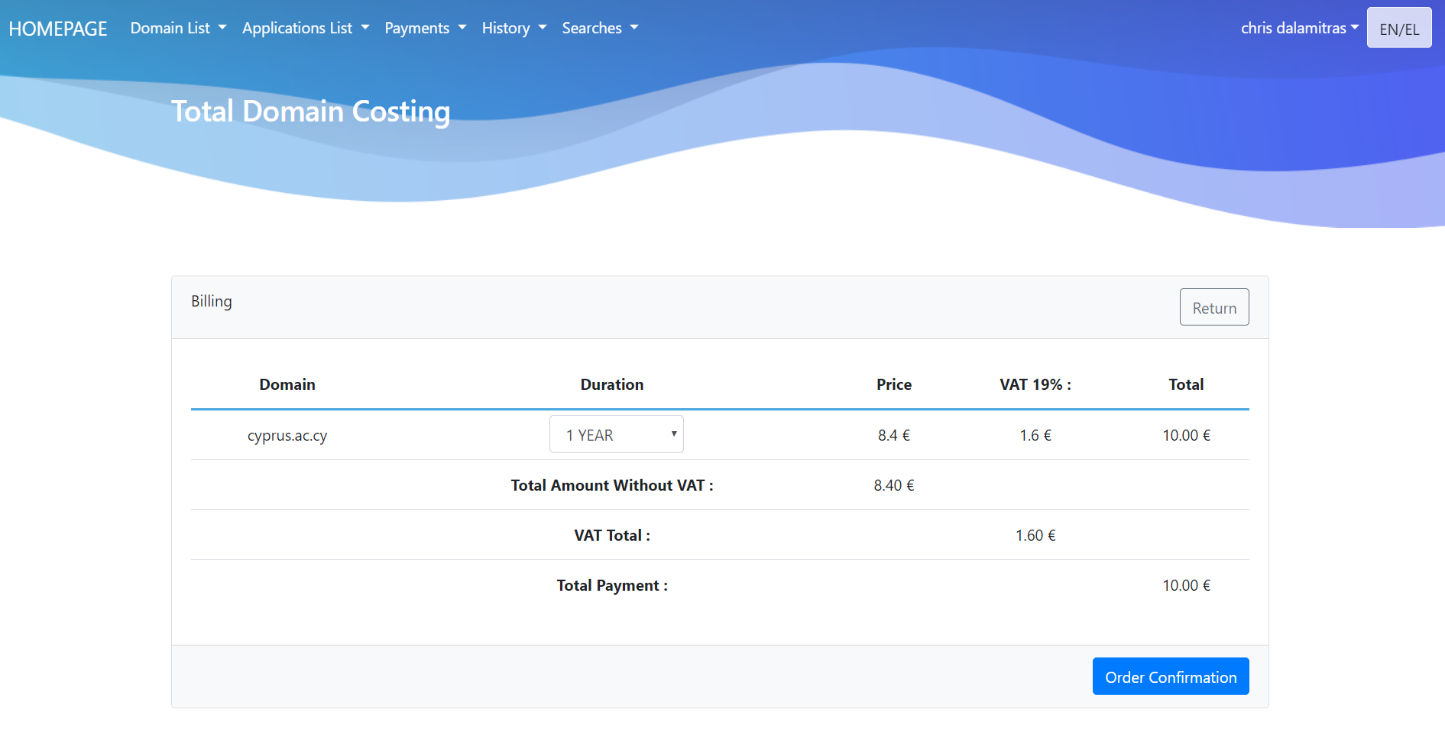
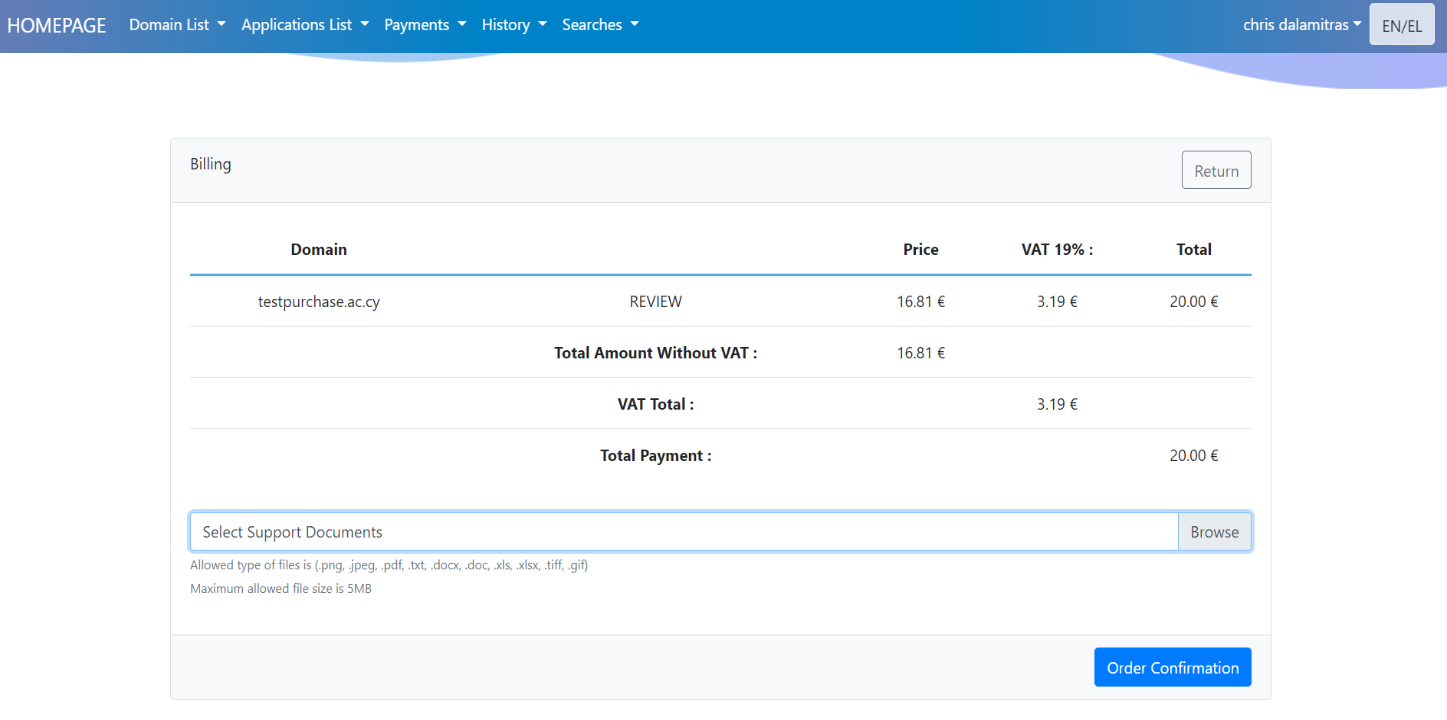
By selecting to pay the user is transferred to the costing form of the domain name, for which he may wish to change the duration of use set in the initial submission of the application.
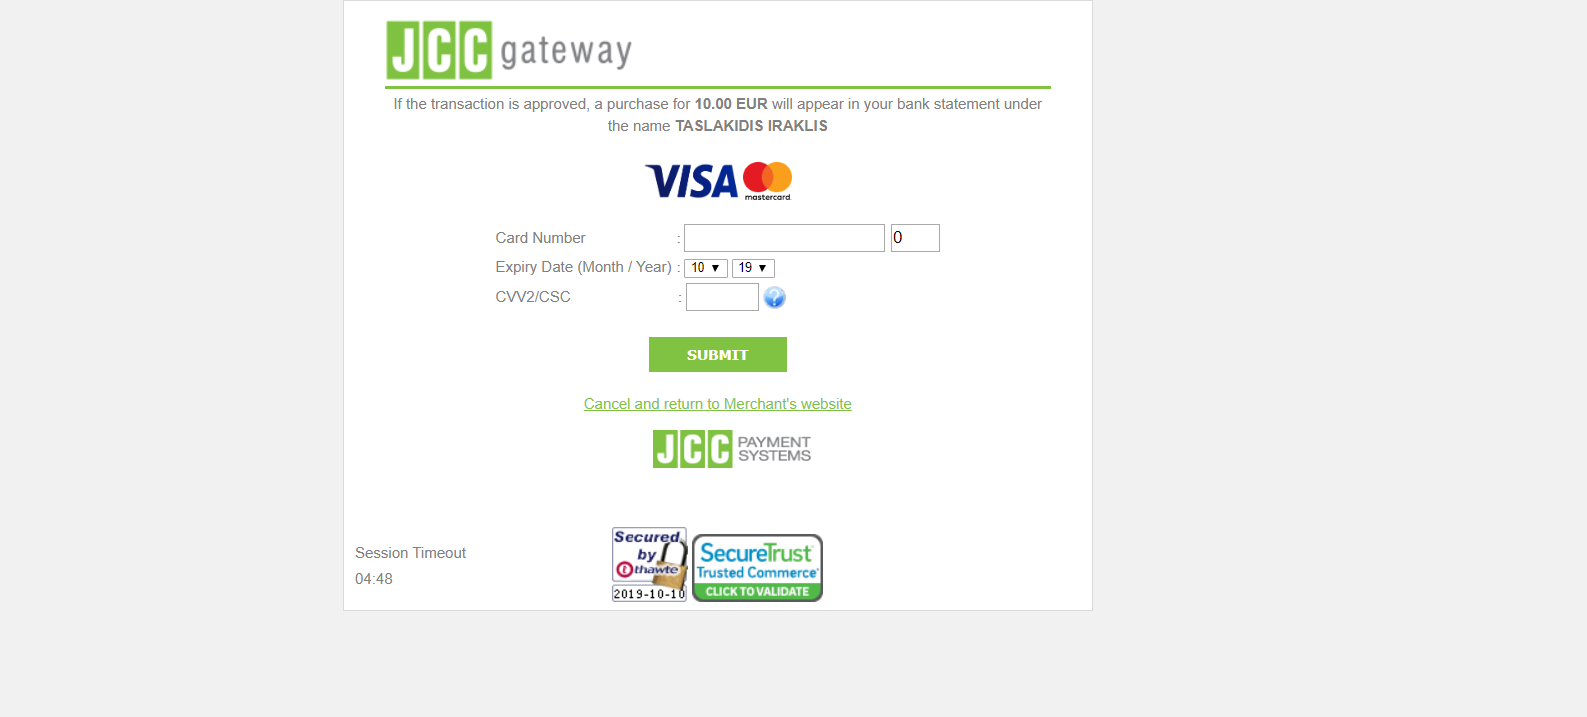
By pressing "Order Confirmation" button the payment form is displayed on the screen. The payment is achieved through the web portal of the "JCC".
On the JCC Web portal the user registers his/her card details and by pressing Submit he completes the payment process.
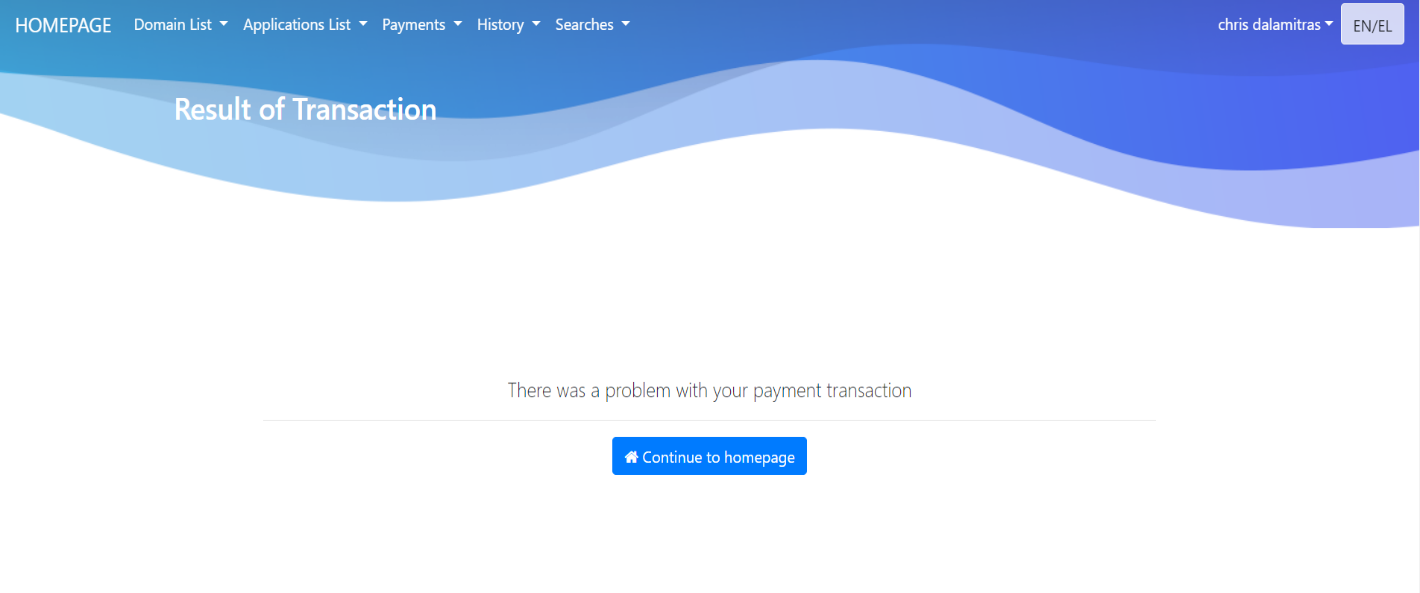
The user is then redirected to the transaction result page where he is informed if the payment was successful or not.
2. Resolution procedure of domain name disputes
2.1 Re-examination Request
If a request for registration of a domain name is rejected, the user submitting the request may submit a request for review.
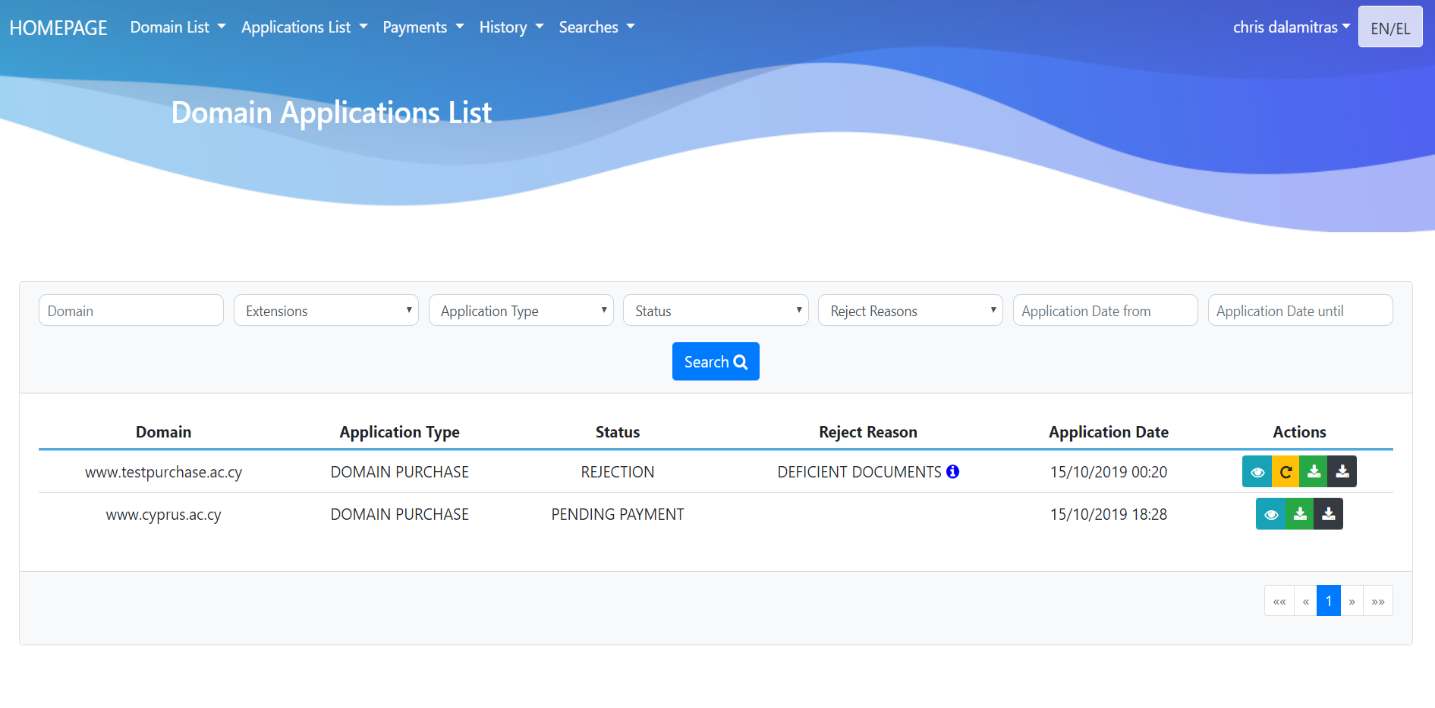
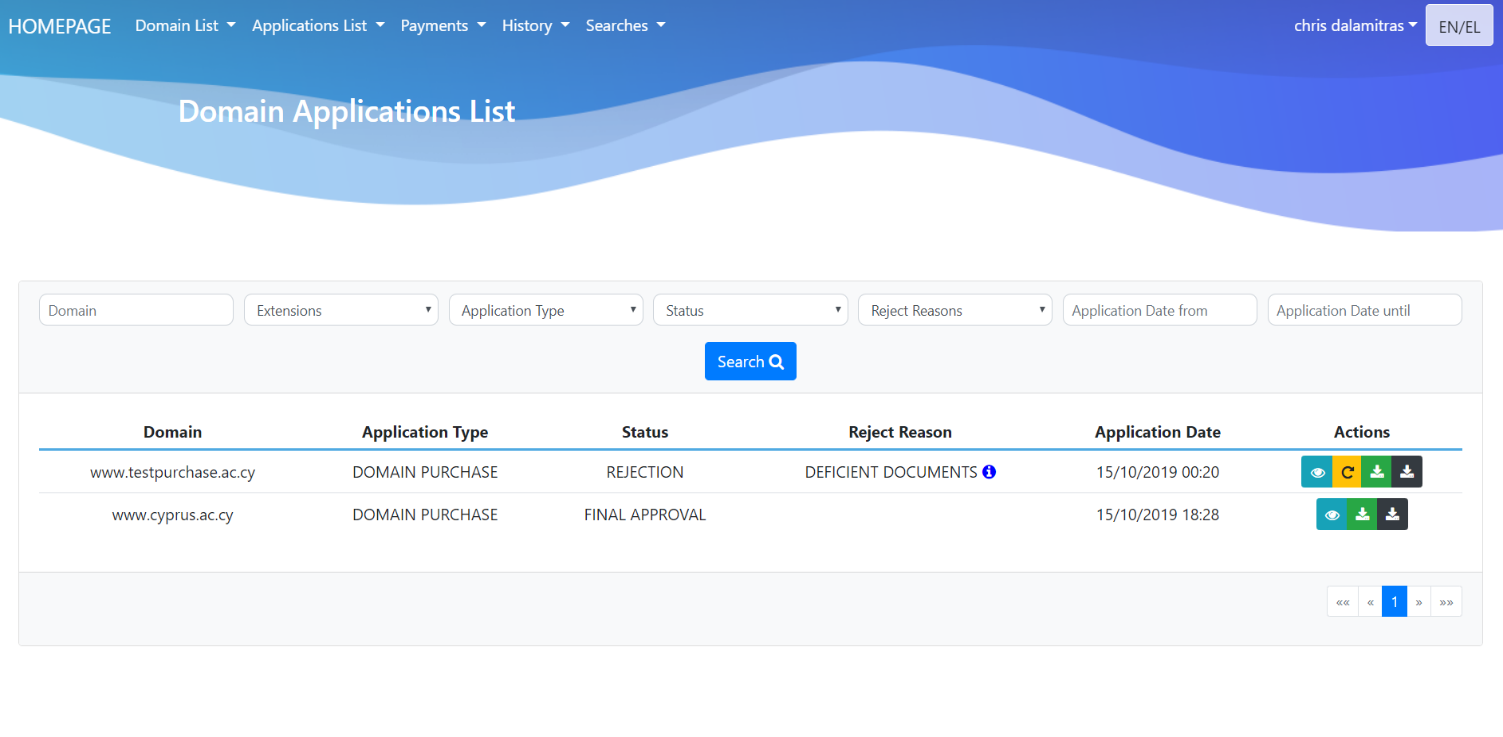
To submit a review request, the user selects from the menu "Application List -> Domain Application" to display the list of requests submitted.
Rejected applications shall show the status of 'REJECTION'. By pressing the yellow icon in the action’s column, the user starts the review process.
To activate the review process , the user must pay the relevant review fee.
The user may attach additional documents το justify the review request.
The "Order Confirmation" option transfers the user to the JCC portal where he must register his/her card details and by pressing "Submit" he completes the payment process.
The user is then redirected to the transaction result page where he is informed if the payment was successful or not.
2.2 Editing process of domain name data
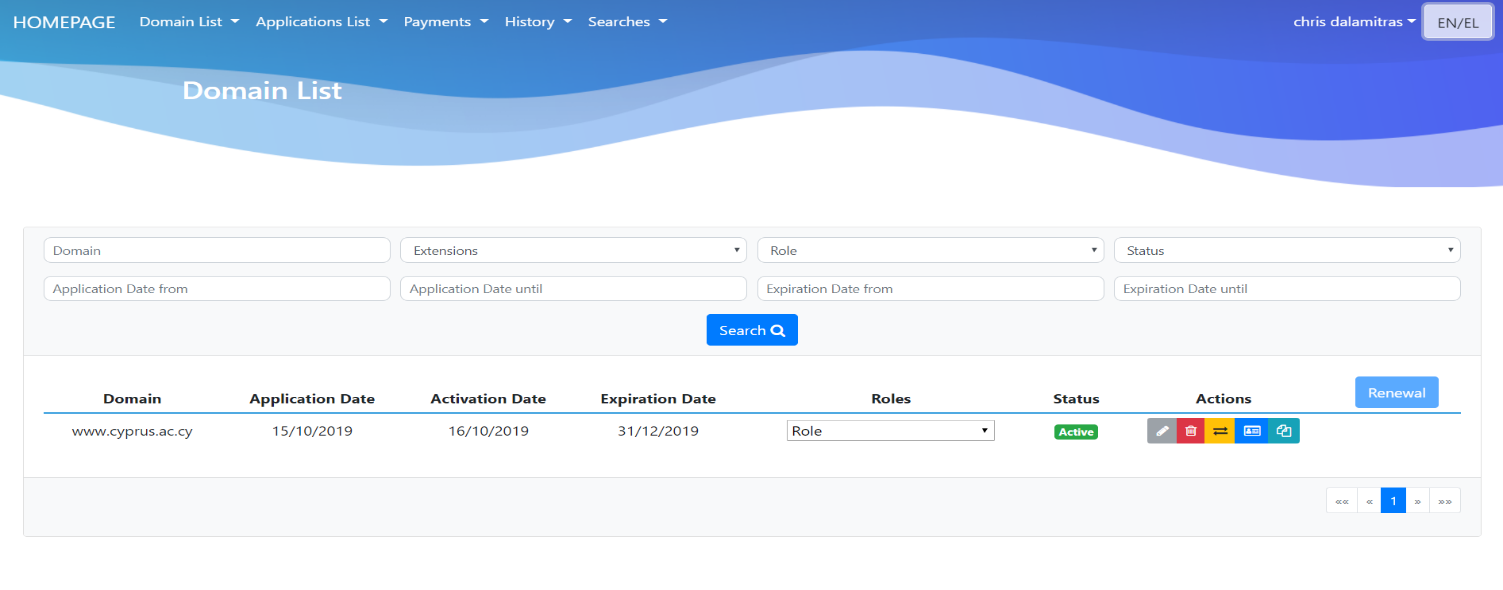
For the editing of domain name data, the user can select from the menu "Domain List -> My Domains" and display the list of all the domains in his possession. To edit the data, the selection of the gray icon is required, as shown in the following picture.
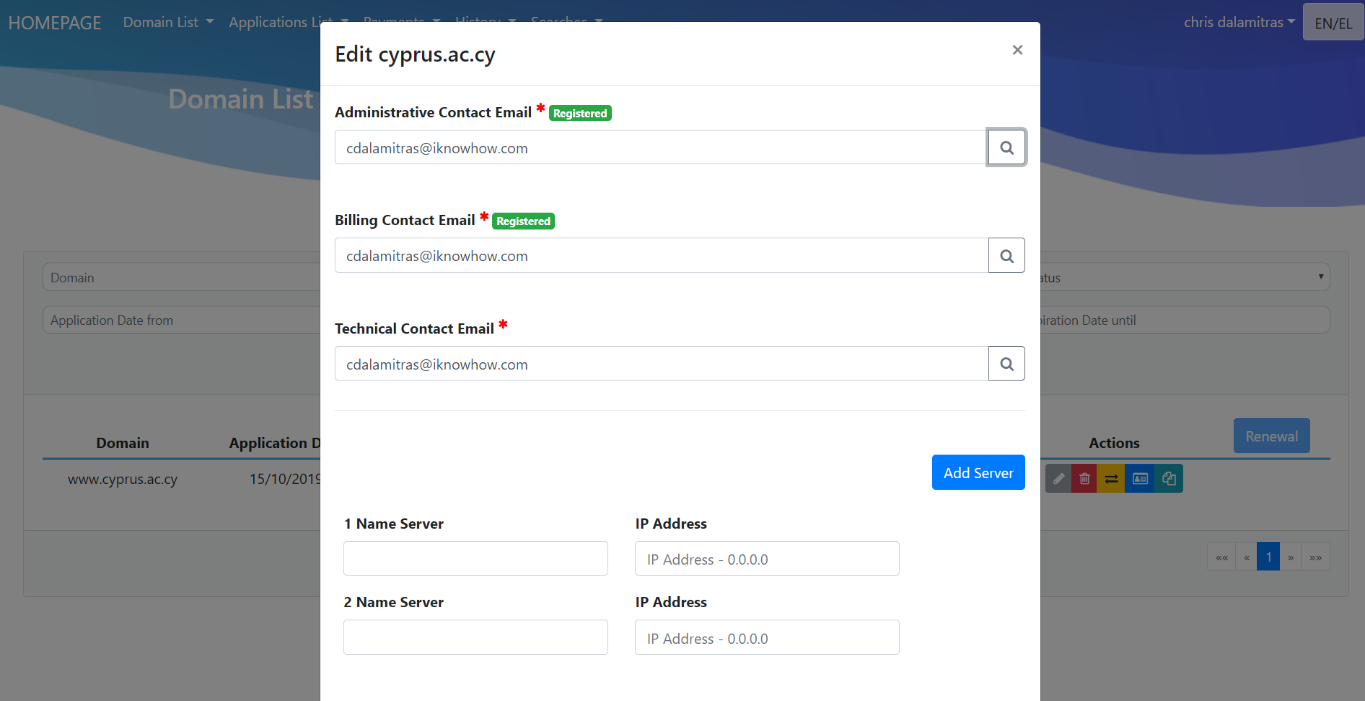
By pressing the gray icon, a modal form will pop up in which the user can modify all the contacts of the domain except the owner. Additionally, he may add or remove domain servers.
2.3 Domain transfer procedure
To transfer a domain name to another beneficiary, the user may choose from the menu "Domain List -> My Domains" and display the list of all the domains in his possession. to transfer a domain, the user needs to select the yellow icon, as shown in the following picture.
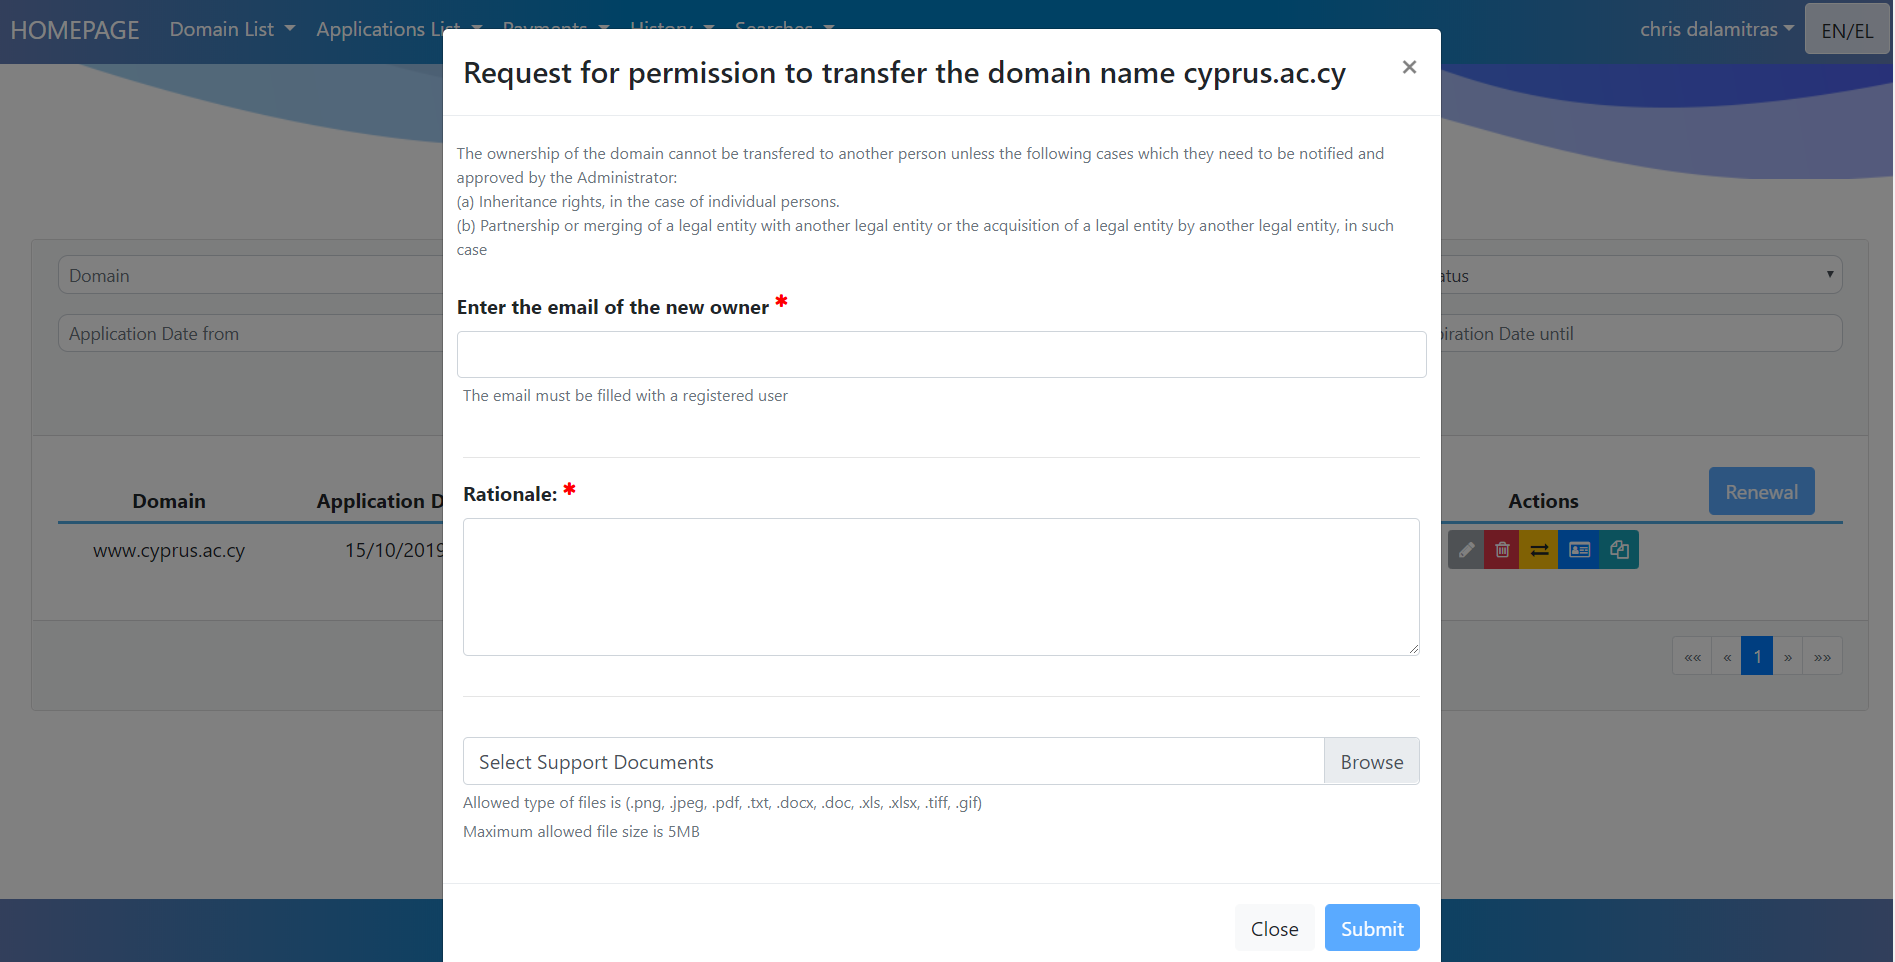
Selecting the yellow icon will display the form of the following image, which allows you to change the "Owner" of the domain name. In the event that the "new Owner" is not registered or is not registered with the full details, a form will be shown in which the user can fully register him.
The user may attach documents το justify the transfer request.
The transfer request needs to be approved by the institution of the university to truly happen.
3. Domain deletion procedure
3.1 Procedure for deleting a domain name
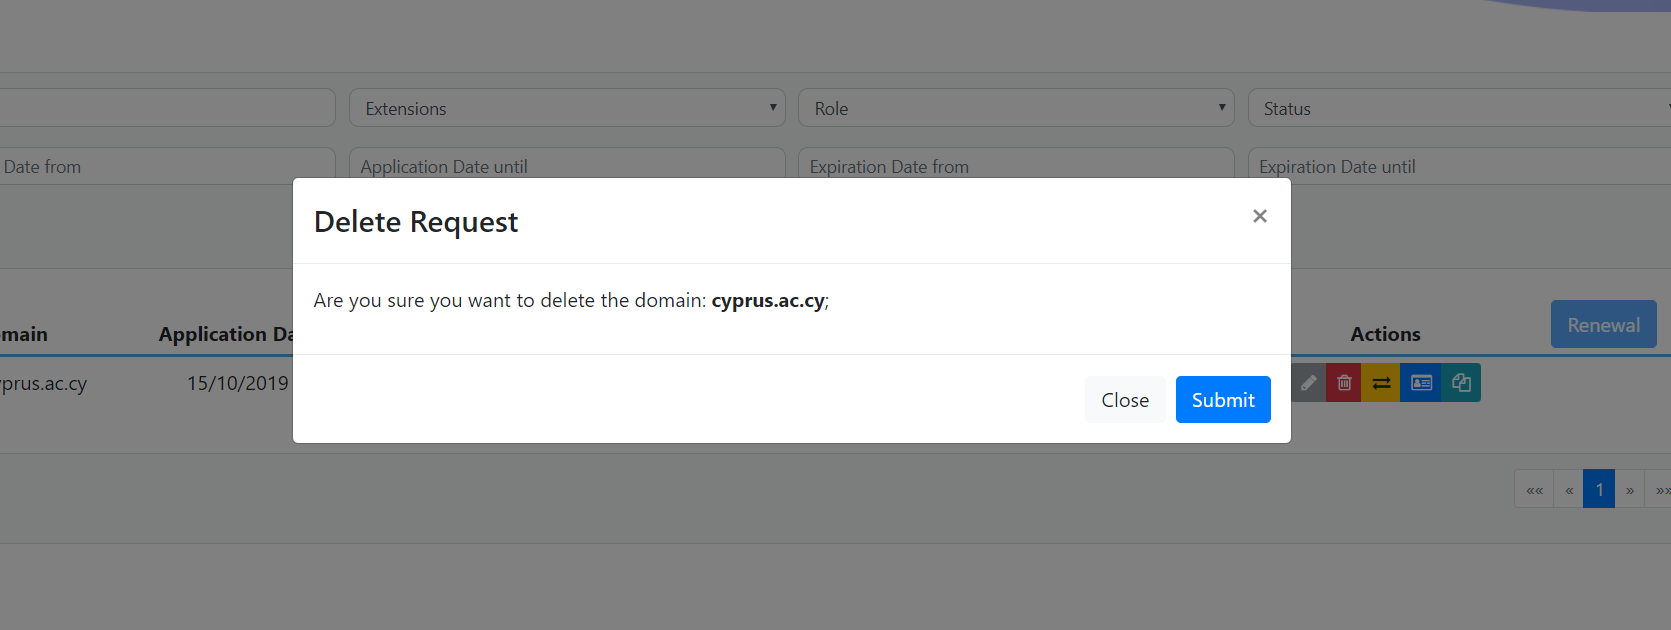
To delete a domain name, the user can choose from the menu "Domain List -> My Domains" and display the list of all the domains in his possession. To delete a domain, he needs to select the red icon as shown in the following picture.
By selecting the red icon, a warning message related to the deletion action of the domain will be shown to the user. By selecting submit the domain will be deactivated for a period of time, providing the possibility of reactivation within this time space. After the deactivation interval (and if the user hasn’t reactivated the domain) the domain will be permanently deleted.
3.2 Deletion of domain due to expiration
In the event that a domain name is not renewed within the time frame defined by the regulatory framework, the name will be deactivated. The system will provide the possibility for the "Owner" of the domain to reactivate it for a limited period of time.
After the deactivation period (and if the reactivation of the name did not happen) the name is permanently deleted.
4. Management of domains by external users
4.1 List of approved domains
The user may display the list of domain names owned by him by selecting from the menu "Domain List -> My Domains".
4.2 List of pending requests
The user may display the list of pending requests by selecting the "Application List -> Domain Application" from the menu and by filtering out the list with the "status" option.
4.3 List of rejected requests
The user may display the list of rejected requests by selecting the "Application List -> Domain Application" menu and by filtering out the list with the "status" option.
4.4 Request for anonymization of user information
The user may wish to anonymize his/her account information.
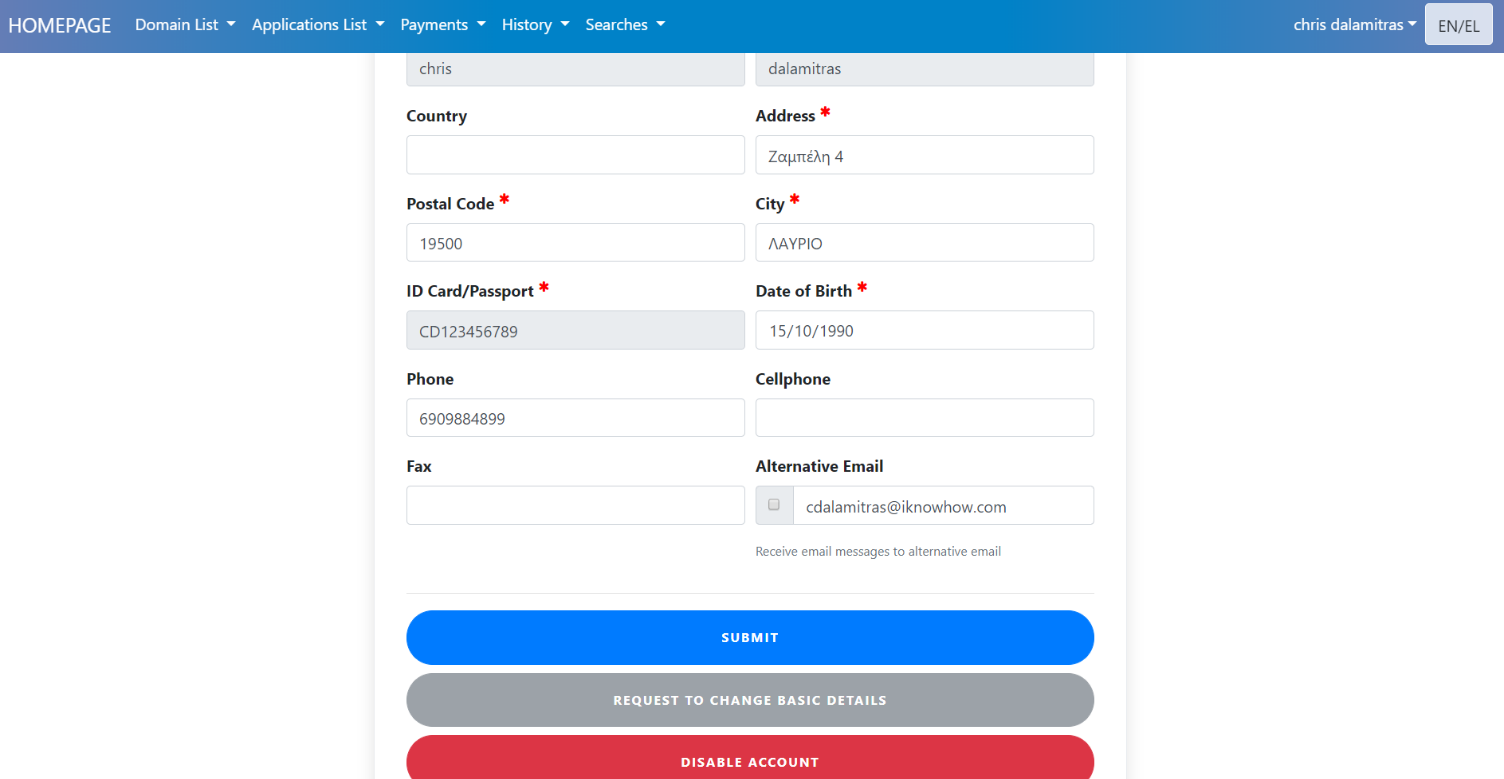
To anonymize the account information the user selects from the menu its name and then edit.
In the data processing form that will appear, he selects the red icon to anonymize his account.
The warning message that appears informs the user of his choice.
The "submit" option completes the process of anonymization of the user's account information.